Sunday 25 October 2015

Mini Kossel: Think3dPrint3d Release 3


Think3dPrint3d Mini Kossel Release 3

We have been selling our version of the Mini Kossel delta 3d printer for 15 months now. As is the nature of RepRap projects it has evolved along the way. We have marked these tweaks and upgrades and improvements as different versions of our kit and we are now ready to release our 3rd version - the Think3dPrint3d Mini Kossel Release 3. Though it builds on our other upgrades it is by far the most significant revision yet.

More detail is set out below but in summary we are switching to 32 Bit Duet Electronics, 20x20 extrusions, IR probing for true autocalibration, as well as some other more minor improvements to the usability or ease of assembly of the printer. Of these the single biggest change is using the Duet electronics with David Crocker's improved RepRap Firmware which allows for segmentation free delta printing and easy autocalibration.


Since David implemented delta support in the RepRap Firmware we have had many enquiries about buying the kits with the Duet (and some customers chose to help out as unofficial beta testers). It has taken until now for us to bring everything together into a kit form, including thdetailed documentation, to ensure builders will get the same great experience assembling this version as the previous ones.


Improvements in detail


Electronics


The Duet is a high powered 32 bit ARM-Cortex-M3-based 3D printing electronics solution which runs the powerful RepRap Firmware; more on this and the web interface later. With our kits in mind we designed a new 5-channel version of the Duet board with all the connectors, switches and power LEDs along one side. This allows for the electronics to be neatly mounted in the base of the printer with the USB, Ethernet, SD card, switches and power LEDs still fully accessible:


Duet 0.85 mounted in the Mini Kossel base showing accessibility

The new Duet V0.8.5 also has 2 extruder channels and so allows an easy upgrade path to dual extruders without an extension board, like the RAMPS in previous versions of the Mini Kossel, but unlike previous 4-channel Duets.


RepRap Firmware and Web Interface


David Crocker's RepRap Firmware takes advantage of the ARM chip's 32-bit processing power to provide true segmentation-free delta movement for improved smoothness and accuracy. Unlike most 8-bit firmware like Marlin, RepRap Firmware is precompiled and there is not normally any reason to modify or recompile it. The firmware is easy to configure with all the settings controlled through Gcodes in simple text configuration files. David has documented the setup of the configuration files in some detail on the RepRap wiki, for Cartesian printers, Delta printers and CoreXY printers.

The Ethernet support allows direct connection to a network or ethernet port on a laptop, or connection via Wifi. The web interface by Christian Hammacher is simple yet powerful and can be run on any device that is on the same network as the printer.


RepRapFirmware Web Interface running on Duet 0.8.5

I have taken to using my phone to control my printers:


RepRap Firmware Web interface on an Android Phone

20x20mm extrusions


These provide increased frame stiffness and allow the use of T-slot nuts which can simply be dropped into the extrusion channels when required, making assembly much easier.

Mini Kossel part way through assembly showing 20x20 extrusions


Frame assembly is greatly simplified with T-slot nuts

Differential IR Probe


David Crocker also developed a really great mini IR probe which, when combined with the functions within RepRap firmware allows for quick and accurate printer setup and calibration.


Hot end assembly showing DC42's differential IR probe mounted next to the E3D V6 heater block.

Below is a video showing the probe in action:


Other Improvements


To further simplify the printer wiring we designed an effector wiring breakout PCB
AppA-R13-hotend-PCB.JPG
Effector breakout PCB
Breakout PCB connected to hotend, IR probe, fans and wiring loom

The extruder and E3D V6 hot-end are preassembled and tested. 

AppA-R07-extruder.JPG
Assembled and tested extruder
AppA-R14-V6.JPG
Assembled E3D V6

While the majority of our customers have had no issues since we switched from the JHead to the V6 in Release 2, a few have struggled with the V6 assembly. As this kit is designed for hassle free assembly we want to eliminate all the potential issues. The V6 is assembled, heated to 290C and the nozzle tightened in accordance with E3D's recommendations.

We have included a top mounted spool holder for some time now, along with other tweaks and improvements suggested by our customers. For a full specification of the kit see our website.

Open Source Hardware.


As with everything we do the changes to the printed parts are available on our Github.

More to come!


We are also finalising the design and kit contents, and working on the documentation for a much larger Kossel, based to a large extent on David Crocker's supersized Kossel. It will optionally have a E3D Cyclops/Chimera dual extrusion hotend, 24V power and a massive 300mm diameter by ~480mm high print area. If you are interested in getting your hands on a Beta Kit then feel free to email us! Update 17 November 2015 - all 10 beta test slots have now been taken.

Friday 7 August 2015

New Duet Electronics - Version 0.8.5

RepRap 3D printers with multiple extruders are becoming increasingly common however the majority tend to have dual extruders rather than 3 or more. Released in December 2013, the Duet 0.6 is now an established 32bit 3d printing electronics solution that has proven to be popular and versatile. With this in mind we decided to extend the Duet 0.6 to support two extruders on one board and developed the Duet 0.8.5.

The new features are highlighted below and importantly it features the same expansion header as the Duet 0.6 so it supports a Duex4 expansion boardA Duet 0.8.5 + a Duex4 gives support for 6 extruders. That's 9 stepper channels and 7 heater channels including the heated bed!

Duet V0.8.5 (picture updated 20160111 to show polarised pin headers)

We should thank David Crocker (DC42 on the RepRap forums) upfront for his helpful advice in the development of the Duet 0.8.5.

New Features in Duet 0.85

  • A second extruder channel (E1).
  • A second PWM fan output.
  • E1 motor current controlled by the SAM3X8E DAC0 channel. Thanks to David Crocker for this idea.
  • Two "always on" fan pins.
  • Dedicated header for the PanelDue.
  • Dedicated probe header, supports many different probes including David Crocker's mini IR probe.
  • Additional pins accessed on the SAM3X8E processor to enable the new features.


Improvements from 0.6

  • Lower noise components and circuit layout used for the 5V BUCK circuit.
  • Complete ground plane - reduce noise and potential ground loops.
  • Switches and power indication LEDS moved to the same edge as the SD/USB/Ethernet for simpler access and indication.
  • VSSA now present on the expansion header. This combined with the changes to the Duex4 0.2a mean that analogue ground is now used for all 7 temperature measurement channels.


Other Changes

Not necessarily improvements but changes to simplify the board or reduce component count:
  • USB is now a simple USB 2.0 device, rather than a Host/Device as before. This was never used on the 0.6 and removing it reduces component count.
  • Removed the IDC headers for the heatbed and motor/hotend wiring loom. The footprints took up valuable board space and I am not aware of a printer that used a complex loom terminated in a single IDC.
  • The FAN MOSFETs are now PMV40UN2R FETs which are lower power but more than adequate for fans and other lower current devices. They also don't use a second mosfet to increase turn on voltage, like in the 0.6 design, as that was overkill. This means they are inverting (use M106 I1 to change)
  • Extruder thermistor headers and fan headers moved towards the middle of the board to allow for the same board size as the Duet 0.6 to be used.
  • In order to support a 7th heater channel (Extruder 6) along with two PWM fans the PWM pin had to be shared. This means that you can't run 6 extruders AND 2 PWM fans at the same time.

Board Connections

Duet 0.8.5 Connections


The expansion header pins have changed slightly as shown in the picture below:


Duet 0.8.5 Expansion header pins back view
The pins on the Duex 0.6 that went to the extruder E1 on the Duex4 have been diverted to E1 on the Duet 0.8.5. New pins now go to E5 in place of E1 on the Duex4


Opensource Hardware

In the same manner as the Duet 0.6 the Duet is based on the Arduino Due, and the KiCAD source files are released under the CERN OHL 1.2 license, which means you are free to modify them and distribute products based on them, as long as you share your modifications under the same license. We believe this is a much more appropriate license for Open Hardware than a Creative Commons/GPL or other licence based around copyright.

The Duet 0.8.5 source files are available on GitHub so feel free to fork the project and modify away!

Duet 0.8.5 developed with the Open Source KiCAD EDA suite


KiCAD has continued to improve since I started to develop hardware over 2 years ago. It is a powerful, Open Source design suite which means that the source files for the Duet are open for anyone to use and so is the software needed to modify them.

Firmware & Webinterface

The Duet 0.8.5 runs RepRapFirmware, the linked github page has the Think3dPrint3d latest version based on David Crocker's fork. I have made the changes required to support the additional pins, extruder multiple PWM fans and hopefully this will be merged into David's fork shortly.

The firmware has also improved substantially since the Duet 0.6. The majority of these improvements Think3dprint3d can take no credit for as they are the work of the RepRap community.

David Crocker has done excellent work in optimising the firmware and implementing segmentation free support for Delta printers. Old-style firmwares rely on segmentation to calculate movement but this can add printing artefacts. On David's fork the delta transform is calculated for each step, i.e. it's segmentation free, and thus the quality is higher. This is only possible due to the higher processing speed of 32 bit electronics.

Christian Hammacher (on the RepRap forums as zombiepantslol) has done a fantastic job continuing to improve the web interface:

Updated RepRapFirmware Web Interface with 6 extruders - Large Screen (PC) view
I am now also using the webinterface from my mobile, here are a couple of screenshots of that:

RepRapFirmware Web Interface on Mobile

RepRapFirmware Web Interface on Mobile - Print page


Production & Availability

The Duet 0.8.5 boards are being produced for us in the UK by a local electronics manufacturer. The first batch is finished and available on our website:


Also available as a bundle with the Duex4, and I will be very excited to see someone using all 6 extruders!


Sunday 12 April 2015

Duex4 V0.2a - Minor Updates

I have made a slight revision to the Duex4 v0.2 4 extruder expansion board for the Duet 3d printing electronics, the revised design is the Duex4 v0.2aThe revision is to add analogue GND to the expansion board input header connected by either a fly lead (Duet v0.6) or directly (later Duet versions).

Analogue GND should have been used from the beginning but I left it out by mistake. This omission lead to noisier temperature readings on the expansion board than on the Duet (as documented, with a fix, by David Crocker). This was annoying but I did not see a drop in performance as the thermal mass of the hotends was enough to cancel out any temperature swings commanded by this noise. None the less it needed to be fixed, but in a way that allowed the Duex4s to still be compatible with the Duet 0.6 expansion header.

In the schematic you can see that pin 39 of the expansion header how connects to a jumper, and then on to VSSA (analogue GND) within the expansion board.


AD 12 used to be on pin 39 however it will be used later Duet versions for the probe input on a header on the main duet board.


This allows for analogue GND to be fed in via pin 2 of the header on a Duet v0.6 or for a jumper to be used on later duet boards.The pictures below show the Duet v0.6 and Duex4 v0.2a with the analogue GND fly lead connected to the heated bed thermistor GND.


This fly lead can also be connected to the hotend thermistor ground screw terminal:

or VSSA Pin 38 on the 40 pin motor loom header:


All V0.2a Duex4s will be supplied with the necessary fly-lead for hooking up the analogue GND as described above.

The updated KiCAD source files are available on our Github, licensed under the CERN OHL v1.2

Sunday 8 February 2015

RepRapFirmware config files

Unlike Marlin and most other firmwares, RepRap Firmware does not require recompilation for different printers. The changes that you would normally make to configuration.h in Marlin are now all made with gcode. At the most basic level you can type gcode commands into pronterface each time you want to setup the printer - however that would quickly get very tedious. Instead the printer configuration is set within /sys/config.g on the SD card.

This tutorial will walk through the common parts of config.g for a Mendel90 style printer with dual extruders. If you have a single extruder printer then the comments will highlight what to leave out. It is assumed you are using DC42's fork of the RepRap Firmware and was written while version 1.00f was the most current version.

It is helpful if you refer to the gcode page on the reprap wiki as you follow along.

The order of the commands is not always strictly important however in some cases it is, for example you should define your tools before setting their offsets.


Gcode format

in general gcodes are formatted in the following manner:

[gcode_letter][number] [switch][information] [switch][information]

example

G1 X10 F3000

So its a "G" command, number "1", with the first switch being "X" with the information "10", the second switch being "F" with the information "3000". This command moves (G1) 10mm in X (X10) at 3000mm/m (F3000)

Another example is

M550 PMendel90 

Where The command is an "M" command, with the switch "P" and the information "Mendel90". This sets the printer name to "Mendel90".

Name and Networking

Much of this is similar to the RepRap Ormerod at this point as it is the same for most machines:

; Configuration file for Mendel90 Example
; Think3dprint3d.com
;
M111 S0                             ; Debug off
M550 PMendel90                      ; Machine name (can be anything you like)
M551 Preprap                        ; Machine password (currently not used)
M540 PBE:EF:DE:AD:FE:ED             ; MAC Address
M552 P192.168.1.14                  ; IP address
M553 P255.255.255.0                 ; Netmask
M554 P192.168.1.1                   ; Gateway
M555 P2                             ; Set output to look like Marlin
G21                                 ; Work in millimetres
G90                                 ; Send absolute coordinates...
M83                                   ; ...but relative extruder moves

You should set the IP address to be within the same subnet as your network, and not to an address that could be allocated to something else (eg, outside of your DHCP range). The MAC address should not be the same as one already on your network.

M83 sets the extruder to relative extruder moves which is intuitive when sending gcode commands by hand to move the extruder - for example when doing calibration. Cura (and Slic3r by default) expect gcodes to be absolute, rather than relative so I add M82 to the start.gcode to ensure when printing the firmware is in absolute gcode mode.


Set Axis and drives

;axis & drives setup
M906 X800 Y800 Z800 E800:800  ; Motor currents (mA) (Extruder set below)
M92 X80 Y80 Z4000             ; axis steps/mm
M92 E649:639                  ; Set extruder steps/mm
;set axis/drive directions
M569 P0 S1                    ;x axis +'ve
M569 P1 S0                    ;y axis -'ve
M569 P2 S0                    ;z axis -'ve
M569 P3 S0                    ;E0 drive -'ve
M569 P4 S1                    ;E1 drive +'ve
M201 X800 Y800 Z15 E2000            ; Accelerations (mm/s^2)
M203 X15000 Y15000 Z180 E3600       ; Maximum speeds (mm/min)

M566 X600 Y600 Z30 E20              ; Minimum speeds mm/minute

The Duet and Duex4 have digital control of the stepper current - this is set with M906, note the extruder parameter is delimited with a colon ":", this allows for different currents to be set of each extruder drive. This same delimitation is used for M92, allowing different extruder steps/mm to be set for each drive.

M569 sets the axis direction, in this example the printer is wired up in such a manner that X and E0 move in the +'ve direction when a positive movement is send, however Y,Z and E1 move in the negative direction. To correct that the switch "S0" is used, after this command a positive movement to Y,Z or E1 will move them in a positive direction.

M566 is the minimum or instantaneous speed change numbers, they are referred to as X,Y or E Jerk in Marlin. In all these cases I have used a single number for E, that sets the same for all extruders. if your extruders have different designs then you may want to set different speeds and accelerations for each one.


Thermal Settings


;Thermal Settings
M305 P1 R1000 B4267.0          ;1K bias resistor, B value  for Semitec 104-GT2
M305 P1 T100000                ;100K thermistor
M305 P2 R1000 B4267.0          ;1K bias resistor, B value  for Semitec 104-GT2
M305 P2 T100000                ;100K thermistor       
M305 P0 R1000 B4540            ;1K bias resistor,B value for Epcos B57861S104F40
M305 P2 T100000                ;100K thermistor  
M140 S0 R0                     ;set the bed to "0,0" at start up

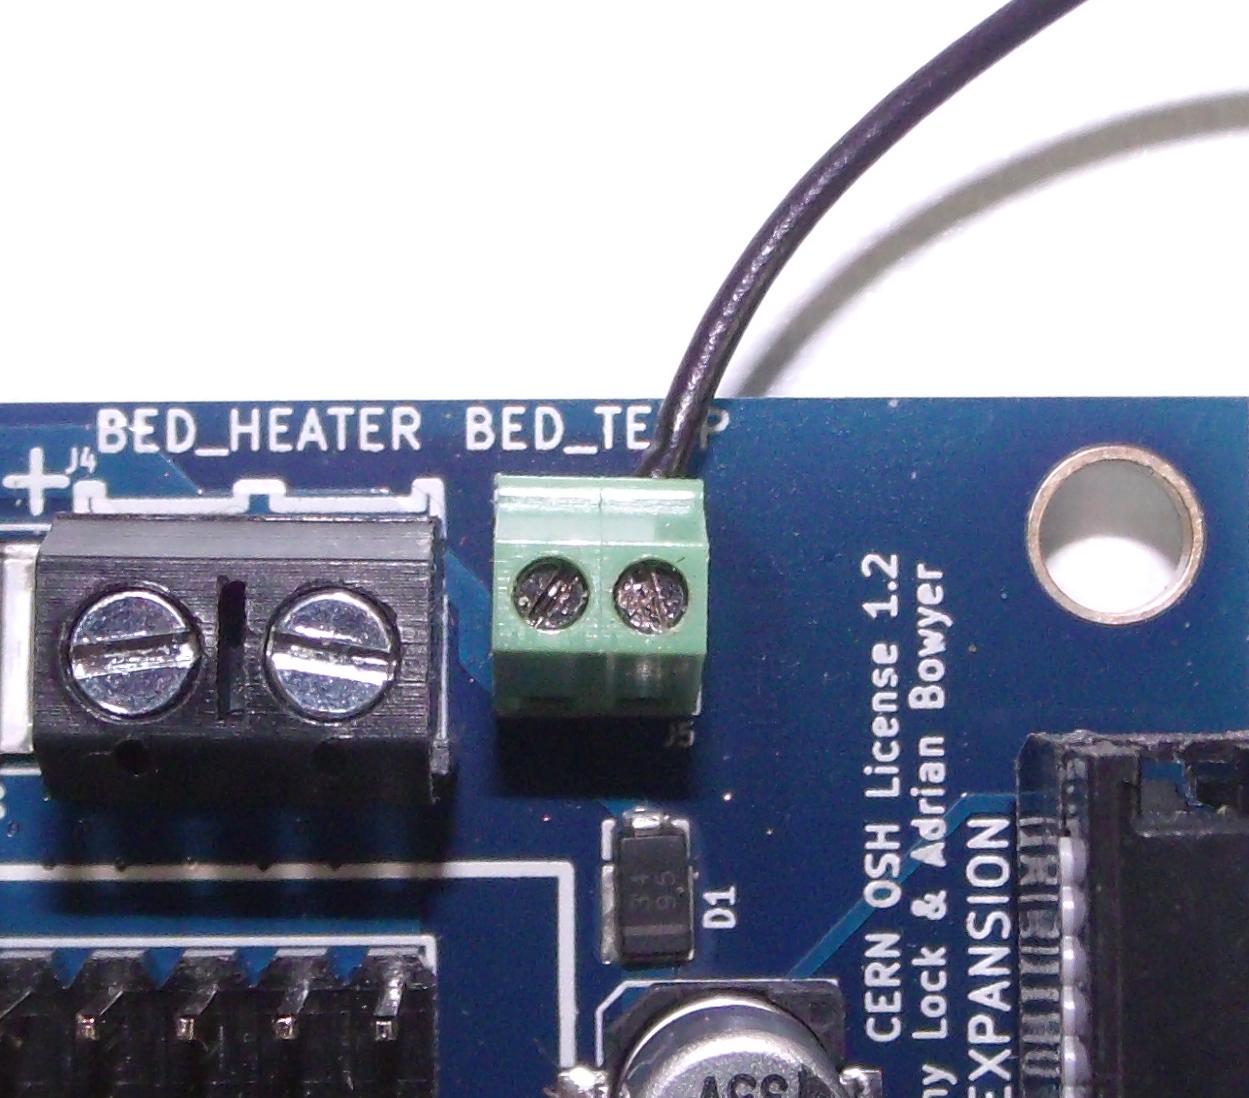
M305 sets the heater thermistor information. P1 = hotend 0, P2= hotend 1, P0 = Heated bed. R1000 = a 1K bias resistor, if you are using a RepRapPro Duet then use R4700 as they use a 4.7k bias resistor. T100000 = 100K @25C thermistor. Finally all heaters are set to -273C by default so the M140 sets the bed to 0 active, 0 standby at startup which helps when using a control panel such as the PanelDue to control the printer. The hotend stat values are set later.

Define Tools

M563 P1 D0 H1                       ; Define tool 1
M563 P2 D1 H2                       ; Define tool 2
M563 P3 D0:1 H1                     ; Define tool 3

RepRap Firmware modifies the concept of a "Tool". No longer does the tool change commands "T0", "T1" etc, select an extruder drive and hotend combination that is designed into the printer with no easy way to change it, other than change the hardware. A tool now consists of any number of extruder drives, and heater combinations. The first line above

M563 P1 D0 H1                       ; Define tool 1

defines a tool (number 1, "P1")  that uses drive 0 (the first extruder drive, E0), and the second heater ("H1"). It is important to remember that the Heated Bed is the first heater configured in firmware, so the extruder 0 heater is H1. In a similar manner the second line

M563 P2 D1 H2                       ; Define tool 2

defines tool number 2 which uses the second drive (D1) and the third heater, which is the E1 heater (H2).

The third tool define is where it gets interesting and shows off the potential power of this method of defining tools.

M563 P3 D0:1 H1                     ; Define tool 3

This defines tool 3 to use both drive 0 and drive 1, but just heater 1. This sort of tool would fit a hotend like e3d's Cyclops.


Set offsets

RepRap Firmware can use G10 to set temperature and position offsets.

G10 P1 S0 R0                        ; Set tool 1 operating and standby temperatures
G10 P2 S0 R0                        ; Set tool 2 operating and standby temperatures
G10 P2 X18                          ; Set tool 2 offset on X axis

The first line sets the active and standby temperature of Tool 1 to 0, the second does the same for tool 2. The third sets the X offset to +18 for Tool 2, the second nozzle on an e3d Chimera is in line on Y but +18 on X, an alternative would be:

G10 P2 X-9                          ; Set tool 2 offset on X axis
G10 P2 X9                          ; Set tool 2 offset on X axis

Which would keep the hotends centered around 0,0 - better for a delta printer.

That concludes the config.g settings required for a standard cartesian printer.


Other files within the /sys/ directory

The concept of using gcodes to perform all printer functions, rather than precompiled routines extends to homing, probing and tool changes. Also within /sys/ on the SD card are the following files as standard

homeall.g
homex.g
homey.g
homez.g
tfree1.g
tfree2.g
tpost1.g
tpost2.g
tpre1.g
tpre2.g

Homing routines are galled in the notmal manner (G28 X for home x for example) however when that command is set, the RepRap Firmware uses the gcode within the relevant "home__.g" file to perform the homing. For example homex.g:

G90                 ; absolute movement
G92 X0              ; set X to 0
G1 X300 F6000 S1    ; move  fast to a large +'ve value, stop when an endstop is hit
G92 X200            ; set X to value of X max
G1 X195 F200        ; move back 5 mm
G1 X205 F200 S1     ; move forward again, slowly stop when endstop hit
G92 X200            ; set X to value of X max

This routine will home quickly until the endstop is reached, the back away and home slowly until its reached again. It makes use of the addition "S1" to the G1 command which stops when an endstop is triggered. Note that our mendel90s home to Max on all axis.

"homeall.g" would normally be a combination of homex.g, homey.g and homez.g:

G90                 ; absolute movement
;home X
G92 X0              ; set X to 0
G1 X300 F6000 S1    ; move fast to a large +'ve value, stop when an endstop is hit
G92 X180            ; set X to value of X max
G1 X175 F200        ; move back 5 mm
G1 X185 F200 S1     ; move forward again, slowly stop when endstop hit
G92 X180            ; set X to value of X max

;home Y
G92 Y0              ; set Y to 0
G1 Y300 F6000 S1    ; move fast to a large +'ve value, stop when an endstop is hit
G92 Y190            ; set Y to value of Y max
G1 Y185 F200        ; move back 5 mm
G1 Y195 F200 S1     ; move forward again, slowly stop when endstop hit
G92 Y190            ; set Y to value of Y max

G1 X100 F6000       ; center the X carriage before homing Z to clear the bowden tubes

;home Z
G92 Z0              ; set Z to 0
G1 Z300 F200 S1     ; move fast to a large +'ve value, stop when an endstop is hit
G92 Z200.85         ; set Z to value of Z max
G1 Z195 F200        ; move back 5 mm
G1 Z205 F60 S1     ; move forward again, slowly stop when endstop hit
G92 Z200.85         ; set Z to value of Z max

Note the "G1 X100 F6000 line before the Z home. This means that the X carriage will be centered before homing Z, ensuring that the bowden tubes pass easily out of the enclosure. 

The "Tfree1.g" etc are called on tool change in the following way:

TfreeN.g is run when tool N is freed
TpreN.g is run before tool N is set active
TpostN.g is run after tool N is set active

so for example in Tpost1.g you may have:

M116 P1

to wait for tool 1 to get to temperature before continuing with the print.

Or you may have

G1 X10 Y10 F6000

in Tfree1.g to move the extruder outside of the object being printed before changing tools. 

DC42 is working on further macros, specifically for Delta printers and probing. Examples of these can be seen here.

Web Interface Upload

You can use the web interface to upload all the modified files so changes are very quick and easy to make and save:

You can also view the current config.g contents in the web interface.